I did a lot of crafts this year and wanted to share some of them. Most of the crafts I did where ideas from other blogs. I love that there are so many creative people out there, and that I can use their ideas to help my creativity! So thank you to those who are willing to share their projects!
Christmas OrnamentsI saw this craft on
Sweet Somethings Design. As soon as I saw it, I had to try it since I had a cool whip lid sitting downstairs on my counter. I didn't do it exactly like hers. I didn't have the nice glitter so I just used what I had on hand. Once I did the first one, I made another, then another. It was pretty fun. I only used the cool whip lid on one, the rest where made out of card stock that I cut out with pattern scissors.
 My mess.
First I had to cut out letters (I didn't have enough of the original so I made new ones), then I had to paint them and add glitter.


 Here are a few that I had almost finished.
 Here is a finished one.
I didn't have a chance to get pictures of the others that I finished before I shipped them off.
Personalized SoapsI got this craft from
The Idea Room
I wanted soaps not hand sanitizer and the only ones that I could get had their own clear picture inside with some stickers on that back that depicted an ocean scene. I had a hard time getting it off, until I finally tried Goo Gone.

It took me a while to get it off of the 20 that I put together, but it finally worked.

Here is the final product. They turned out really cute.
Jewelry Holders
This craft I figured out on my own.
Here are the final products.


I made these for my nieces. I wanted to make something that was personal and useful.
Here is how it started out.

This dresser was so damaged that I couldn't salvage it, so I decided to use some of the wood for other things.

I ripped off the drawer fronts, and stripped the first layer of paint off.

Then I stripped the second layer of paint off. I then had to sand it off really well, and repaint it.

I filled in the holes in the back and sanded it down. I didn't get pictures of the next part. I just primed it, painted it, then Mod Podged on the scrapbook paper.

After that I drilled holes for the hooks.

Finally, I screwed in the hooks. I had to screw in 50 hooks between the two jewelry boards. My hand hurt...a lot.

I also put on some fun little sayings. Then the last thing I did was to put their names on them for the finished product.
I will be making more of these for my daughters, only they will be bag holders with larger hooks and less of them. I'm linking this project to these places.

 Christmas Card Holder
One of the last things that I made just for fun this time, was my card holder. I saw this on
Mom Endeavors, and decided to give it a try. I tried to put paper on at first with the idea of using Mod Podge, but changed my mind when it wasn't working.

Basically, I got a scrap piece of wood from my pile, and cut it to the size that I wanted. Then I wrapped some material around and used a hot glue gun to secure it to the back. Then I got some ribbon that I had on hand and cut it the length I wanted and used the hot glue gun to secure it to the back as well. Finally, I attached a picture hanger so I could hang it up. I decided not to do the other piece of wood like she did on the blog.

Then I cut out letters and once again used the hot glue gun to put them on the front (I did this without a Cricket, although a Cricket would have been so much easier and less time consuming) and added the bows. I made a few more bows, painted my clothes pins white and glued the bows on, and that was it.

It was a lot of fun, and now I have something for next year! Although, I might use a different ribbon. I only used this one, because I have so much of it!
Hope everyone had a wonderful Christmas season! Thanks for visiting!


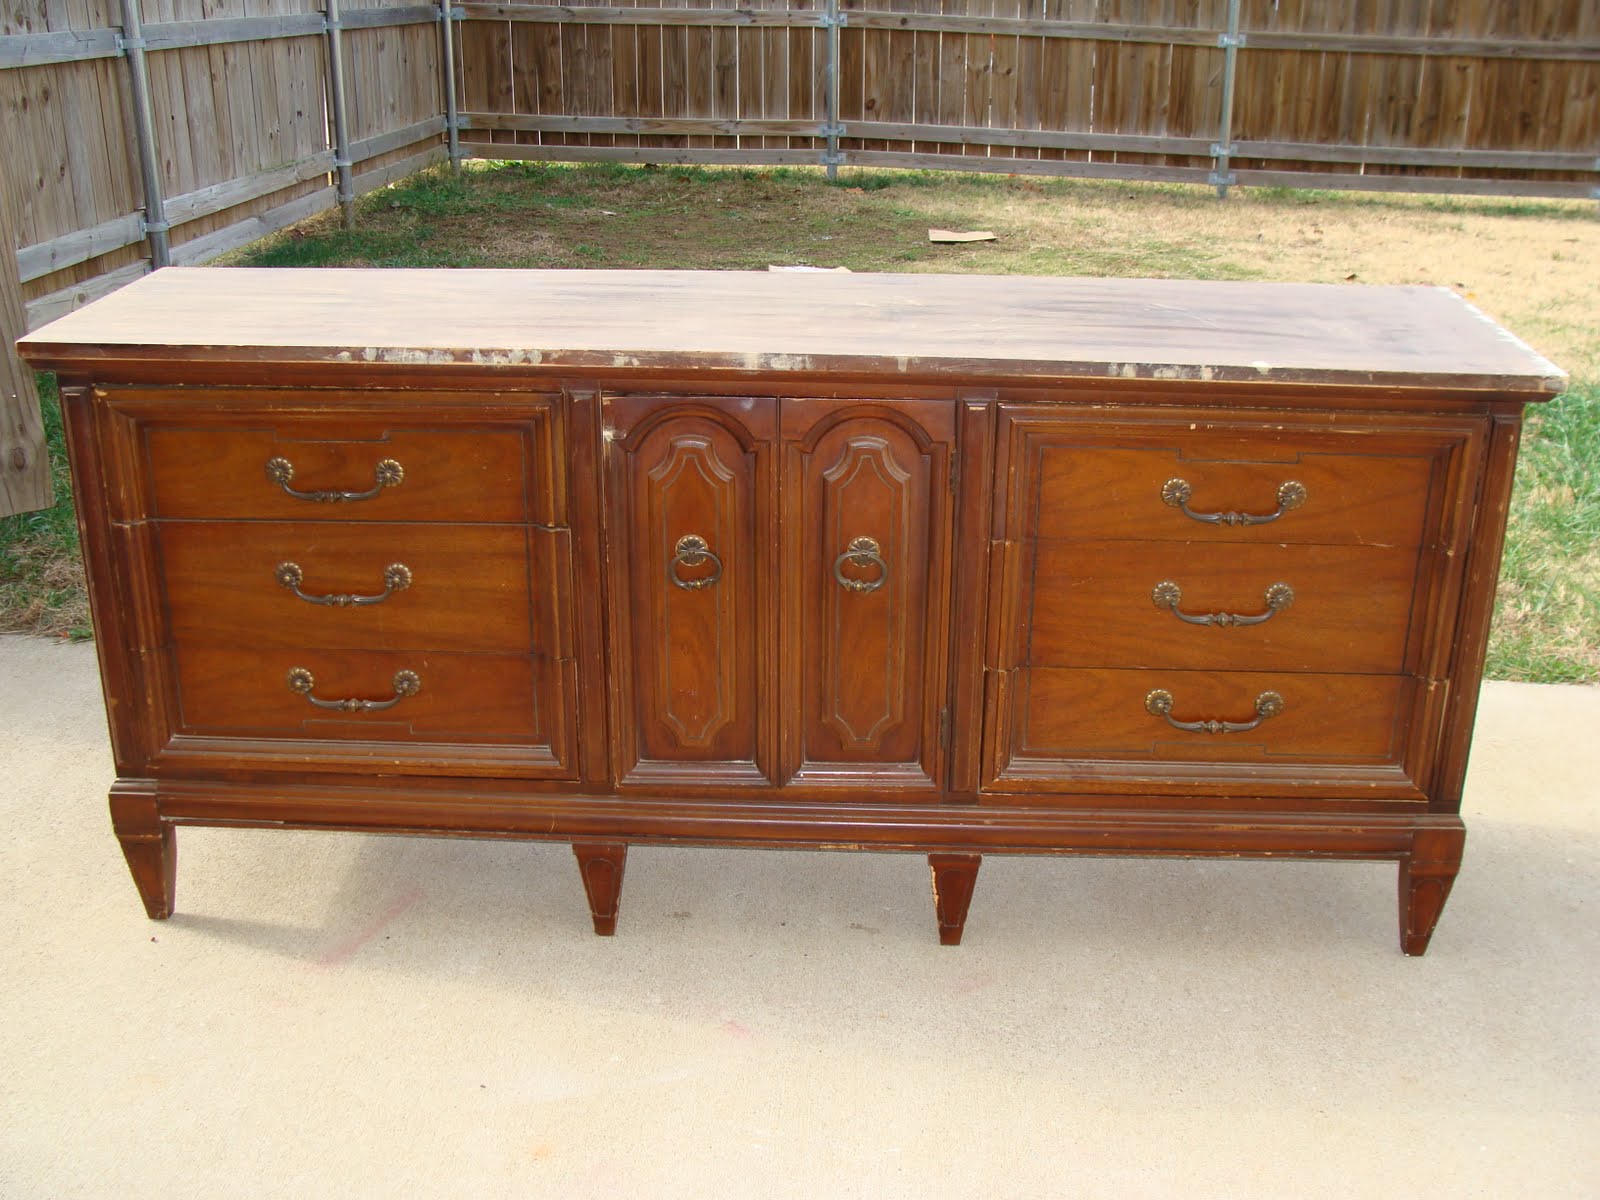 Then I took out all the drawers and fixed any that needed fixing and tightened anything that need it. Luckily this dresser was VERY solid and well made, so it didn't take much.
 Then I gave the whole thing a light sanding.
 Then I painted it.

 I did 3 coats of roll on Satin Black paint, the a final coat of Satin black spray paint to give it a final finish, especially on the drawers where it was hard to get into the design.
 Here is a closer look at the finished product. The flash makes the hardware stand out more, but I'm still not completely satisfied with the way the hardware looks against the black. I was thinking about spraying down the hardware, but I'm not sure what color to spray them. Any ideas would be appreciated.
 Other than the hardware, it has turned out to be perfect for what we wanted and needed. It fits the movies and games perfectly. I also redid the small shelf next to the entertainment center so that it matched. That holds our DVD player, sub woofer and Wii, and then we cover them up with the little curtain.