Monday, February 14, 2011

Happy Valentine's Day!

I hope everyone had a wonderful Valentine's Day. My husband worked all day and didn't get home until after 8:00 at night so the kids and I enjoyed a nice Valentine's dinner without him.
I didn't do anything big. We had heart shaped biscuits with sausage gravy. It's breakfast food, I know, but someone made it for us for a dinner and we have been having it as a dinner ever since!

Then for dessert I made a brownie cream cheese heart shaped dessert.
I had to leave one plain for my pickiest child! They sure were yummy!

Happy Valentine's Day!

Wednesday, February 9, 2011

Please stand by...

We are experiencing some weather difficulties. IT. WON'T. STOP. SNOWING!

In the last few weeks, I have had one nice day (see pics below) where I was able to get out and paint, otherwise it has been all rain, snow, or just COLD. Don't get me wrong, I like snow, when I am living in places where people know how to drive in it, and they have the ability to deal with it. Not so much here where any talk of snow sends everyone into panic mode! It's crazy! The kids have had more half days, early out days and canceled school days this year then I had my entire school career, and that includes college!

You'd think that with all this snow forcing us inside that I would get some inside projects done, but we thought it would be more fun to hibernate and play Wii. What can I say we just got it for Christmas 2 months ago. :-)

But just so you know that I have not been sitting around doing nothing, here is a little peak at some of the stuff I was working on.
I was finally able to get the last 3 chairs sanded and primed(back on that one warm day). Unfortunately I ran out of primer before I could finish, then of course, after I got more, it got cold again. Live and learn!
Primed these with a gray primer. These side tables will be black when I am done with them, and there is a matching coffee table that still needs a little more work before I can prime and paint it.


Here is a great before and after, but it wasn't by me.

BEFORE:
I was helping a friend redo her dining table and bench. I helped her sand and fill stuff in with wood filler, sand some more, and paint. It was a lot of work because there were a lot of decorative "holes" that did nothing but accumulate food, so we filled them all so she could keep her sanity when cleaning off the table.
We worked most of the day and only got the first coat of paint done before I had to leave.
After the first coat of paint

She finished up painting and then sealing it with a polycrylic satin finish on her own. It was her first BIG project and she did an awesome job!!! Here is a picture of the final product that she emailed to me.

AFTER:
(She refinished the table and one of the benches, then bought a bench and the 2 chairs)

Great Job Brandi!!!

Next week the forecast says Sunny and in the 50's. I sure hope that the forecast is correct, I have a garage full of projects that are waiting for the weather to warm up! I should have more to show after that!

Sunday, January 2, 2011

Refinished Dresser turned Entertainment Center

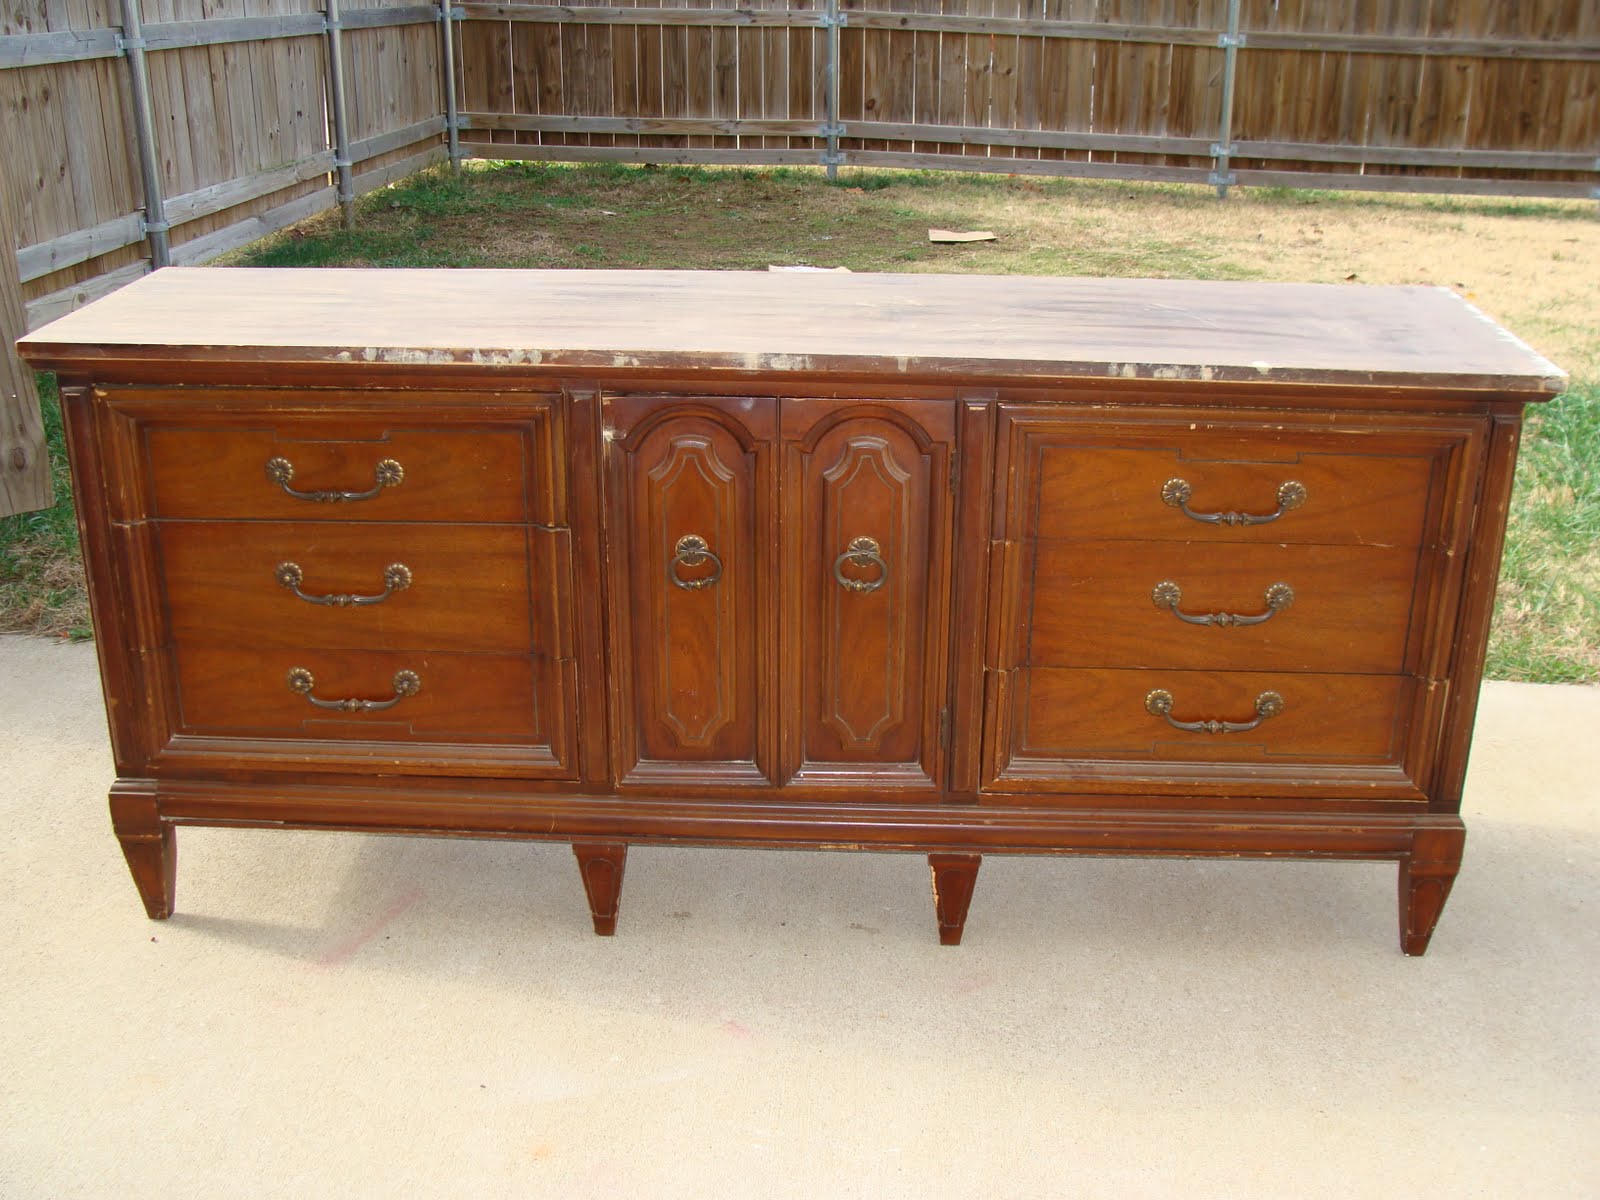
I have had this dresser in the garage for a while. It has been patiently waiting its turn to be refinished (I was also airing it out, since the place we got it from stunk big time!)


When my hubby got his new TV it was obvious that our old entertainment center wasn't going to work anymore, so he started eye-ing this dresser. Finally, he convinced me that it would make the perfect entertainment center. All it needed was a little paint and love.

So we dragged it out of the garage, and started by repairing some of the damage to the top and front.
Then I took out all the drawers and fixed any that needed fixing and tightened anything that need it. Luckily this dresser was VERY solid and well made, so it didn't take much.
Then I gave the whole thing a light sanding.
Then I painted it.
I did 3 coats of roll on Satin Black paint, the a final coat of Satin black spray paint to give it a final finish, especially on the drawers where it was hard to get into the design.

Finally we just put back on the existing hardware and called it good.
Here is a closer look at the finished product. The flash makes the hardware stand out more, but I'm still not completely satisfied with the way the hardware looks against the black. I was thinking about spraying down the hardware, but I'm not sure what color to spray them. Any ideas would be appreciated.

Other than the hardware, it has turned out to be perfect for what we wanted and needed. It fits the movies and games perfectly. I also redid the small shelf next to the entertainment center so that it matched. That holds our DVD player, sub woofer and Wii, and then we cover them up with the little curtain.

Christmas Crafts

I did a lot of crafts this year and wanted to share some of them. Most of the crafts I did where ideas from other blogs. I love that there are so many creative people out there, and that I can use their ideas to help my creativity! So thank you to those who are willing to share their projects!

Christmas Ornaments
I saw this craft on Sweet Somethings Design. As soon as I saw it, I had to try it since I had a cool whip lid sitting downstairs on my counter. I didn't do it exactly like hers. I didn't have the nice glitter so I just used what I had on hand. Once I did the first one, I made another, then another. It was pretty fun. I only used the cool whip lid on one, the rest where made out of card stock that I cut out with pattern scissors.
My mess.

First I had to cut out letters (I didn't have enough of the original so I made new ones), then I had to paint them and add glitter.

Here are a few that I had almost finished.

Here is a finished one.
I didn't have a chance to get pictures of the others that I finished before I shipped them off.


Personalized Soaps
I got this craft from The Idea Room
I wanted soaps not hand sanitizer and the only ones that I could get had their own clear picture inside with some stickers on that back that depicted an ocean scene. I had a hard time getting it off, until I finally tried Goo Gone.
It took me a while to get it off of the 20 that I put together, but it finally worked.
Here is the final product. They turned out really cute.

Jewelry Holders
This craft I figured out on my own.
Here are the final products.
I made these for my nieces. I wanted to make something that was personal and useful.

Here is how it started out.
This dresser was so damaged that I couldn't salvage it, so I decided to use some of the wood for other things.

I ripped off the drawer fronts, and stripped the first layer of paint off.
Then I stripped the second layer of paint off. I then had to sand it off really well, and repaint it.
I filled in the holes in the back and sanded it down. I didn't get pictures of the next part. I just primed it, painted it, then Mod Podged on the scrapbook paper.
After that I drilled holes for the hooks.
Finally, I screwed in the hooks. I had to screw in 50 hooks between the two jewelry boards. My hand hurt...a lot.
I also put on some fun little sayings. Then the last thing I did was to put their names on them for the finished product. I will be making more of these for my daughters, only they will be bag holders with larger hooks and less of them. I'm linking this project to these places.

Making


Christmas Card Holder
One of the last things that I made just for fun this time, was my card holder. I saw this on Mom Endeavors, and decided to give it a try. I tried to put paper on at first with the idea of using Mod Podge, but changed my mind when it wasn't working.
Basically, I got a scrap piece of wood from my pile, and cut it to the size that I wanted. Then I wrapped some material around and used a hot glue gun to secure it to the back. Then I got some ribbon that I had on hand and cut it the length I wanted and used the hot glue gun to secure it to the back as well. Finally, I attached a picture hanger so I could hang it up. I decided not to do the other piece of wood like she did on the blog.
Then I cut out letters and once again used the hot glue gun to put them on the front (I did this without a Cricket, although a Cricket would have been so much easier and less time consuming) and added the bows. I made a few more bows, painted my clothes pins white and glued the bows on, and that was it.
It was a lot of fun, and now I have something for next year! Although, I might use a different ribbon. I only used this one, because I have so much of it!

Hope everyone had a wonderful Christmas season! Thanks for visiting!

Sunday, November 21, 2010

Repaired Dressers

I bought this matching dresser and bedside table off of our local online yard sale site back in March for an AWESOME deal! The guy selling them was deploying and just wanted them gone. I was actually going there to buy the mirror, but the ad had said that it went to a dresser which had been damaged and that I could have it as well if I wanted it.
I was NOT prepared for what I saw when I got there! This dresser was huge and GORGEOUS! I immediately knew that I wanted it. **Be still my heart!**When he told me that he was planning on just throwing it away I almost cried! Really I did, I couldn't believe that someone would consider throwing away such a beautiful thing just because of a little damage!
After I composed myself, I told him that it was a beautiful piece of furniture and of course I wanted it, so he asked me if I wanted the matching bedside table also! Just thrown in. No extra cost. Just because! For FREE!!!

Can you see me standing there trying to be calm and mature, but inside I'm wanting to jump up and down like a Price is Right contestant when their name is called to "Come on down!"?? Seriously!

Uhhh, HECK YEAH, I'll take it, even if I have to strap it to the top of my van!!! Which luckily I did not have to do! Man was I glad that I had taken out all the seat in the back of the van just in case!

So his nice room mates started hauling it all out to my van. They even loaded it! Talk about service! So I gave him my small amount of money, still telling him that I feel like I should be paying him more and he told me I was doing HIM a favor! Alright! Well feel free to call on me for a favor like this ANY TIME! I thanked him and his friends and left, pinching myself all the way home!

Good times! I wish all my purchases went like that!

Anyways, back to the task at hand. Here they are in all their damaged, but still beautiful glory!
Do you see the details and the finish! I Loooove the finish. It was a dark cherry wood finish with, what looked like, a black glaze to bring out the details. Ahhhhhh, so pretty!

It took me a while to figure out how to fix the worst of the damage. I thought about taking the whole top off and replacing it, but that would have been expensive and I didn't know if I could duplicate the finish. (I would have painted it, but I couldn't bring myself to paint over such a beautiful finish.) So after much thought I decided to try and "rebuild" the corner.

I bought some of this wood filler and literally molded it onto the corner.
It was a trial and error type thing. I plastered it on, let it dry, then sanded it down. I used (because I had it on hand from a previous project) a drywall hand sander, which turned out to be perfect since I needed it to be long and straight. After I did this couple times it started to look like it should. It was really cool. Unfortunately since this was a process that spanned a long period of time, I didn't get any pictures of the process. Basically any time I was out in the garage with at least 20 minutes of time I would work on it.
After I got it nice and smooth and ready to be refinished, I happened to be at Lowe's and saw some stain in the Oops paint and figured I would try it out. What do you know, IT WORKED! Here is a picture after the first coat of stain.Here is a closer look.After I took this picture I put on a couple more coats of the stain, then I put black glaze over the top. This was a tough part. I kept putting on glaze and wiping it off, but it never seemed to look right, so I started leaving it on longer. Eventually, it got to a point that you could barely tell that there had been damage there.
The hardest part was the final finish. It didn't look like it had been protected with polyurethane, and so I couldn't use that. I wasn't really sure what they had used. This is where I wish I would have had more experience so that I could do this part better. What I did worked well enough, but it wasn't perfect and I'm a little bit of a perfectionist. I ended up spraying it with the Krylon satin protective finish.


So here is the finished product. I'm sorry that the lighting isn't better. They were in our entrance hall for easy viewing.

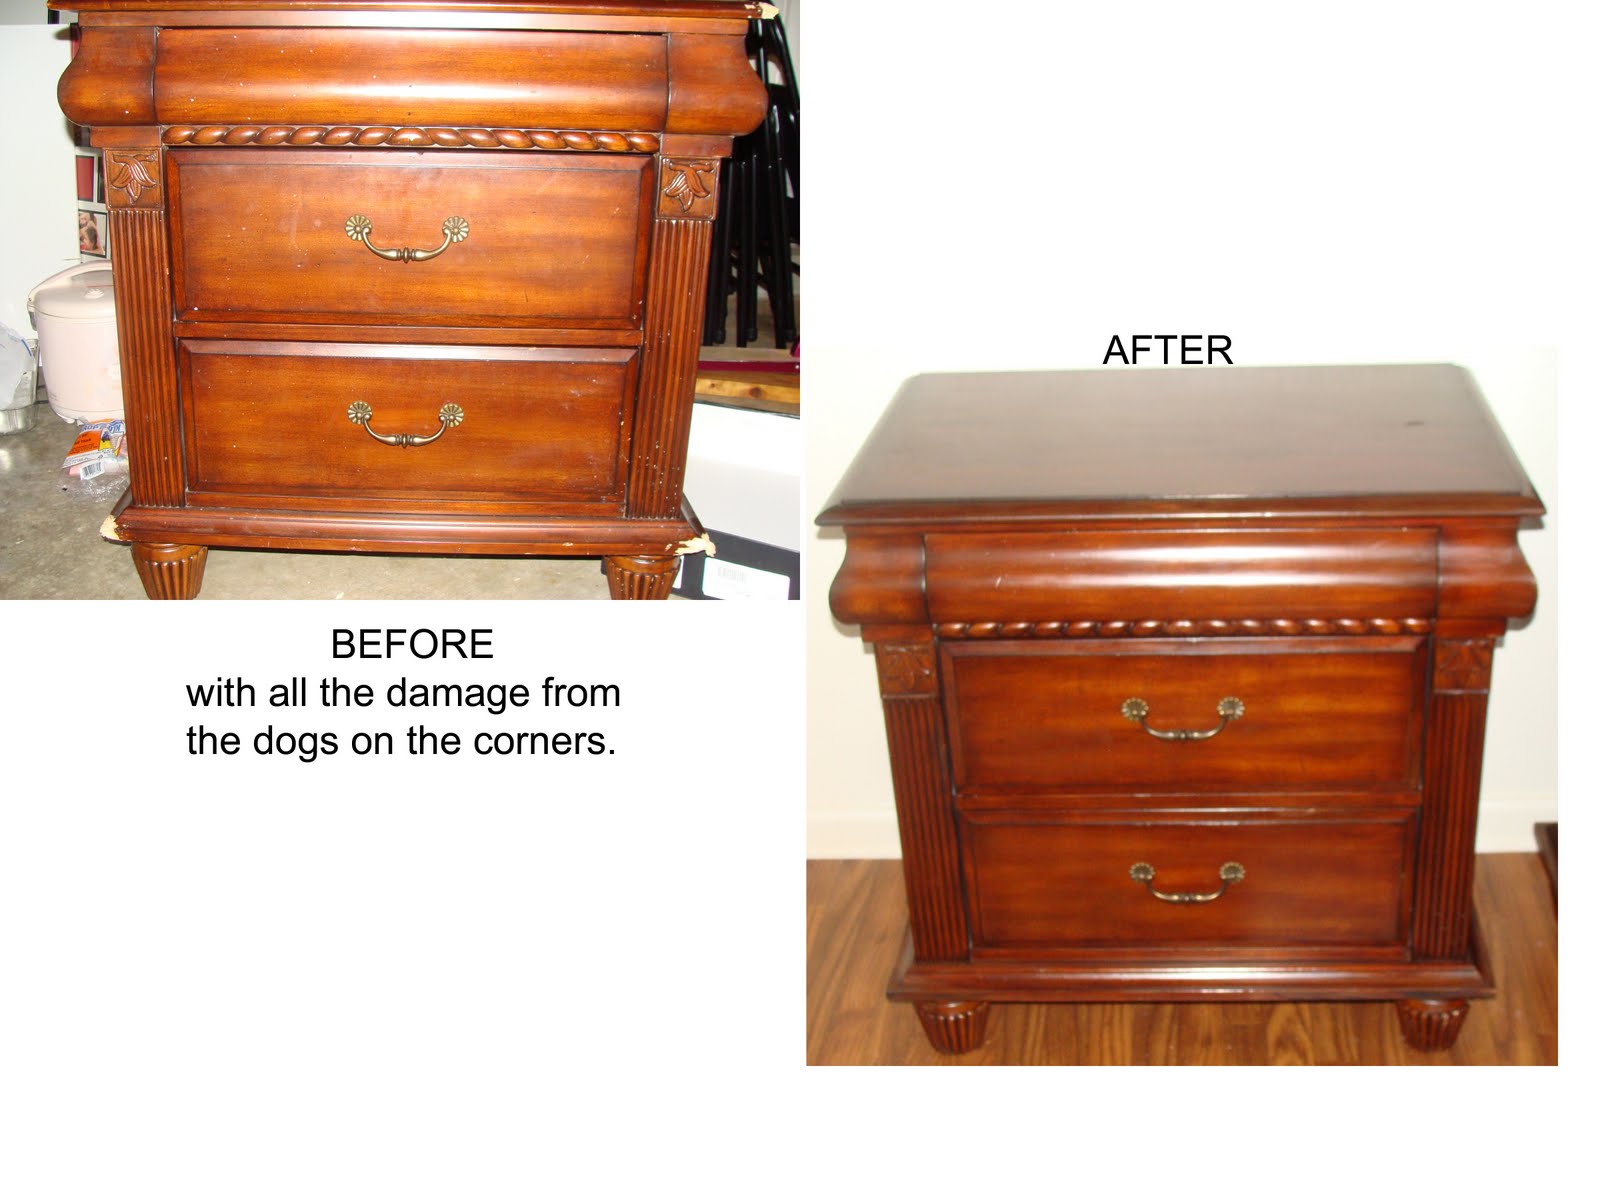
Here is the bedside table:
Gotta love before and afters:
And here is the dresser:
Here was where the damaged section was:
Side by side before and after:

I didn't get very good pictures of the two pieces together because of the location and the lighting, but here is the best one.
Like I said it wasn't a great picture.


I was very pleased with how it all turned out. It was a good learning experience. If I would have had more time I would have figured out a better way to match the protective finish, but I was under a deadline to get it sold to help pay for some plane tickets. I am happy to say that within 24 hours of posting it, I was able to sell it and send it off to it's new home! I know the people who bought it will take good care of it!

I would have loved to keep it, but with our family being in the Army and the fact that we move very frequently, it just would not have worked. Besides we didn't really have the room for it, it's not like we have a guest bedroom. **sigh** I wish!