
I bought this matching dresser and bedside table off of our local online yard sale site back in March for an AWESOME deal! The guy selling them was deploying and just wanted them gone. I was actually going there to buy the mirror, but the ad had said that it went to a dresser which had been damaged and that I could have it as well if I wanted it.
I was NOT prepared for what I saw when I got there! This dresser was huge and GORGEOUS! I immediately knew that I wanted it. **Be still my heart!**When he told me that he was planning on just throwing it away I almost cried! Really I did, I couldn't believe that someone would consider throwing away such a beautiful thing just because of a little damage!
After I composed myself, I told him that it was a beautiful piece of furniture and of course I wanted it, so he asked me if I wanted the matching bedside table also! Just thrown in. No extra cost. Just because! For FREE!!!
Can you see me standing there trying to be calm and mature, but inside I'm wanting to jump up and down like a Price is Right contestant when their name is called to "Come on down!"?? Seriously!
Uhhh, HECK YEAH, I'll take it, even if I have to strap it to the top of my van!!! Which luckily I did not have to do! Man was I glad that I had taken out all the seat in the back of the van just in case!
So his nice room mates started hauling it all out to my van. They even loaded it! Talk about service! So I gave him my small amount of money, still telling him that I feel like I should be paying him more and he told me I was doing HIM a favor! Alright! Well feel free to call on me for a favor like this ANY TIME! I thanked him and his friends and left, pinching myself all the way home!
Good times! I wish all my purchases went like that!
Anyways, back to the task at hand. Here they are in all their damaged, but still beautiful glory!


 Do you see the details and the finish! I Loooove the finish. It was a dark cherry wood finish with, what looked like, a black glaze to bring out the details. Ahhhhhh, so pretty!
It took me a while to figure out how to fix the worst of the damage. I thought about taking the whole top off and replacing it, but that would have been expensive and I didn't know if I could duplicate the finish. (I would have painted it, but I couldn't bring myself to paint over such a beautiful finish.) So after much thought I decided to try and "rebuild" the corner.
I bought some of this wood filler and literally molded it onto the corner.
 It was a trial and error type thing. I plastered it on, let it dry, then sanded it down. I used (because I had it on hand from a previous project) a drywall hand sander, which turned out to be perfect since I needed it to be long and straight. After I did this couple times it started to look like it should. It was really cool. Unfortunately since this was a process that spanned a long period of time, I didn't get any pictures of the process. Basically any time I was out in the garage with at least 20 minutes of time I would work on it.
After I got it nice and smooth and ready to be refinished, I happened to be at Lowe's and saw some stain in the Oops paint and figured I would try it out. What do you know, IT WORKED! Here is a picture after the first coat of stain. Here is a closer look.
 After I took this picture I put on a couple more coats of the stain, then I put black glaze over the top. This was a tough part. I kept putting on glaze and wiping it off, but it never seemed to look right, so I started leaving it on longer. Eventually, it got to a point that you could barely tell that there had been damage there.
The hardest part was the final finish. It didn't look like it had been protected with polyurethane, and so I couldn't use that. I wasn't really sure what they had used. This is where I wish I would have had more experience so that I could do this part better. What I did worked well enough, but it wasn't perfect and I'm a little bit of a perfectionist. I ended up spraying it with the Krylon satin protective finish.
So here is the finished product. I'm sorry that the lighting isn't better. They were in our entrance hall for easy viewing.
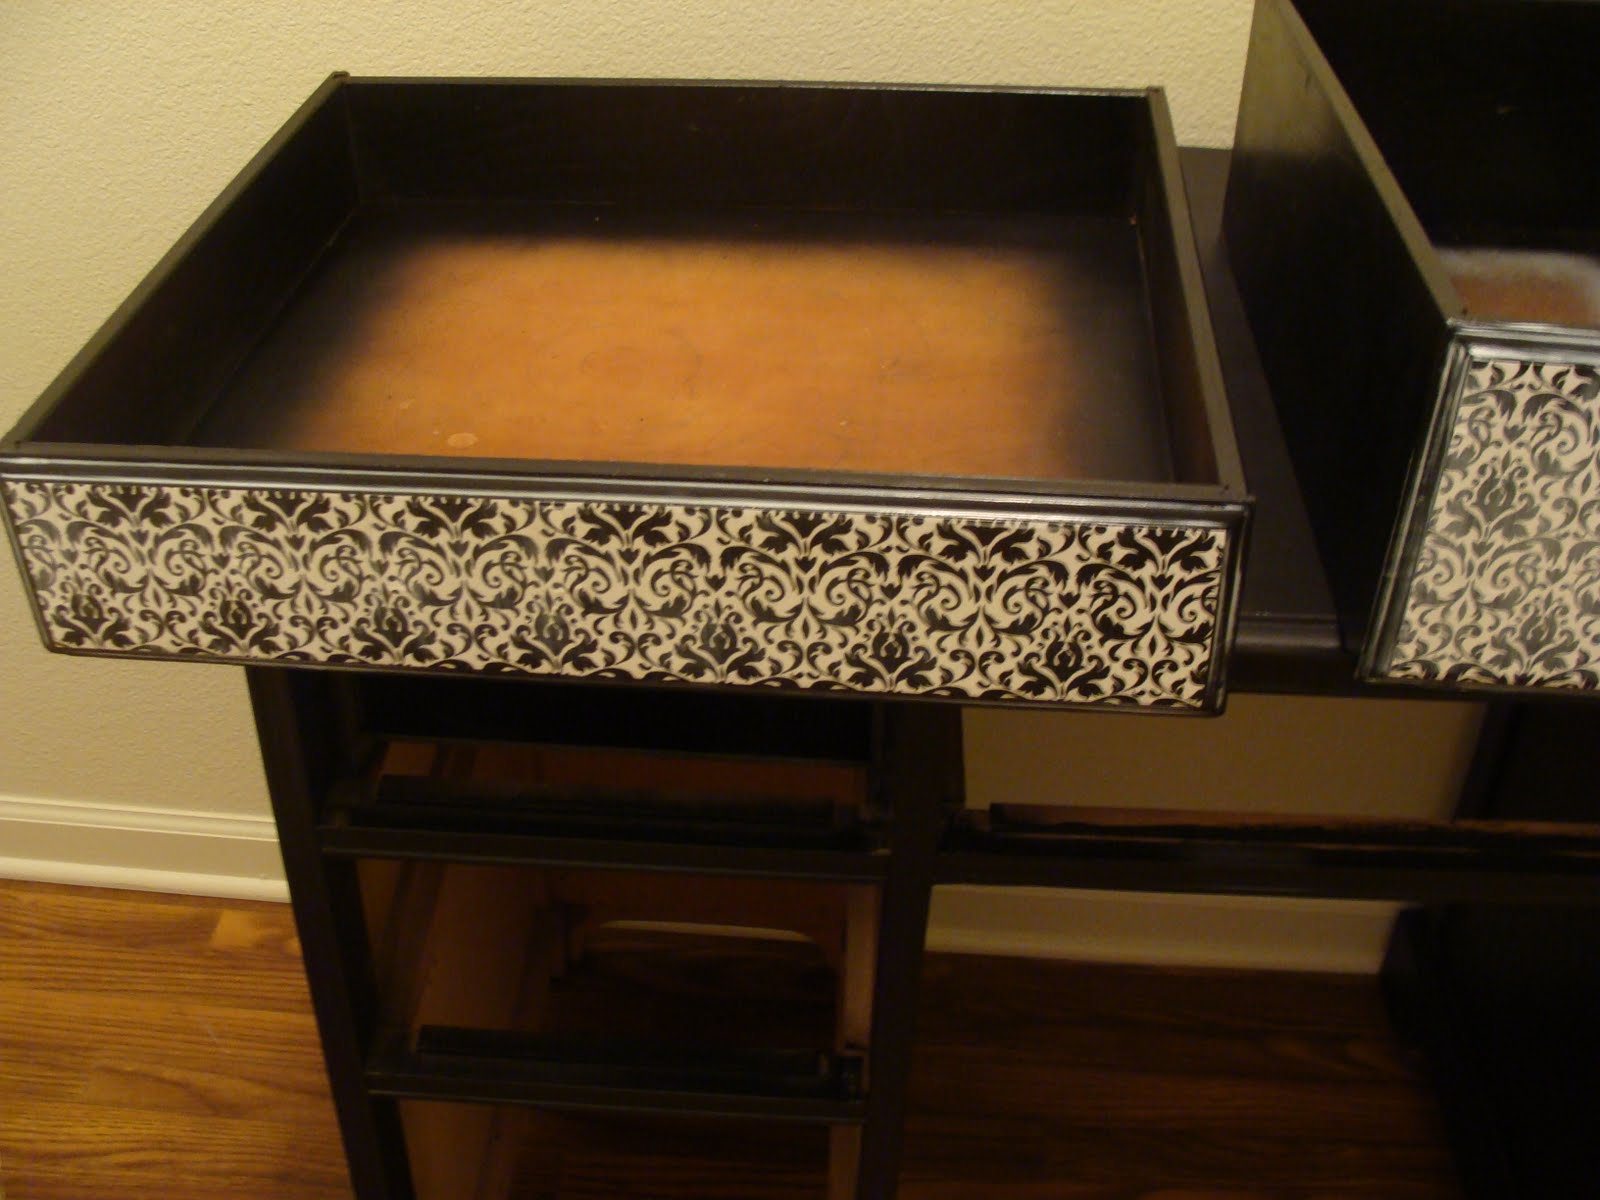
Here is the bedside table:
 Gotta love before and afters:
 And here is the dresser:
 Here was where the damaged section was:
 Side by side before and after:

I didn't get very good pictures of the two pieces together because of the location and the lighting, but here is the best one.
 Like I said it wasn't a great picture.
I was very pleased with how it all turned out. It was a good learning experience. If I would have had more time I would have figured out a better way to match the protective finish, but I was under a deadline to get it sold to help pay for some plane tickets. I am happy to say that within 24 hours of posting it, I was able to sell it and send it off to it's new home! I know the people who bought it will take good care of it!
I would have loved to keep it, but with our family being in the Army and the fact that we move very frequently, it just would not have worked. Besides we didn't really have the room for it, it's not like we have a guest bedroom. **sigh** I wish!
I was NOT prepared for what I saw when I got there! This dresser was huge and GORGEOUS! I immediately knew that I wanted it. **Be still my heart!**When he told me that he was planning on just throwing it away I almost cried! Really I did, I couldn't believe that someone would consider throwing away such a beautiful thing just because of a little damage!
After I composed myself, I told him that it was a beautiful piece of furniture and of course I wanted it, so he asked me if I wanted the matching bedside table also! Just thrown in. No extra cost. Just because! For FREE!!!
Can you see me standing there trying to be calm and mature, but inside I'm wanting to jump up and down like a Price is Right contestant when their name is called to "Come on down!"?? Seriously!
Uhhh, HECK YEAH, I'll take it, even if I have to strap it to the top of my van!!! Which luckily I did not have to do! Man was I glad that I had taken out all the seat in the back of the van just in case!
So his nice room mates started hauling it all out to my van. They even loaded it! Talk about service! So I gave him my small amount of money, still telling him that I feel like I should be paying him more and he told me I was doing HIM a favor! Alright! Well feel free to call on me for a favor like this ANY TIME! I thanked him and his friends and left, pinching myself all the way home!
Good times! I wish all my purchases went like that!
Anyways, back to the task at hand. Here they are in all their damaged, but still beautiful glory!


 Do you see the details and the finish! I Loooove the finish. It was a dark cherry wood finish with, what looked like, a black glaze to bring out the details. Ahhhhhh, so pretty!
It took me a while to figure out how to fix the worst of the damage. I thought about taking the whole top off and replacing it, but that would have been expensive and I didn't know if I could duplicate the finish. (I would have painted it, but I couldn't bring myself to paint over such a beautiful finish.) So after much thought I decided to try and "rebuild" the corner.
I bought some of this wood filler and literally molded it onto the corner.
 It was a trial and error type thing. I plastered it on, let it dry, then sanded it down. I used (because I had it on hand from a previous project) a drywall hand sander, which turned out to be perfect since I needed it to be long and straight. After I did this couple times it started to look like it should. It was really cool. Unfortunately since this was a process that spanned a long period of time, I didn't get any pictures of the process. Basically any time I was out in the garage with at least 20 minutes of time I would work on it.
After I got it nice and smooth and ready to be refinished, I happened to be at Lowe's and saw some stain in the Oops paint and figured I would try it out. What do you know, IT WORKED! Here is a picture after the first coat of stain.
 Here is a closer look.
 After I took this picture I put on a couple more coats of the stain, then I put black glaze over the top. This was a tough part. I kept putting on glaze and wiping it off, but it never seemed to look right, so I started leaving it on longer. Eventually, it got to a point that you could barely tell that there had been damage there.
The hardest part was the final finish. It didn't look like it had been protected with polyurethane, and so I couldn't use that. I wasn't really sure what they had used. This is where I wish I would have had more experience so that I could do this part better. What I did worked well enough, but it wasn't perfect and I'm a little bit of a perfectionist. I ended up spraying it with the Krylon satin protective finish.
So here is the finished product. I'm sorry that the lighting isn't better. They were in our entrance hall for easy viewing.
Here is the bedside table:
 Gotta love before and afters:
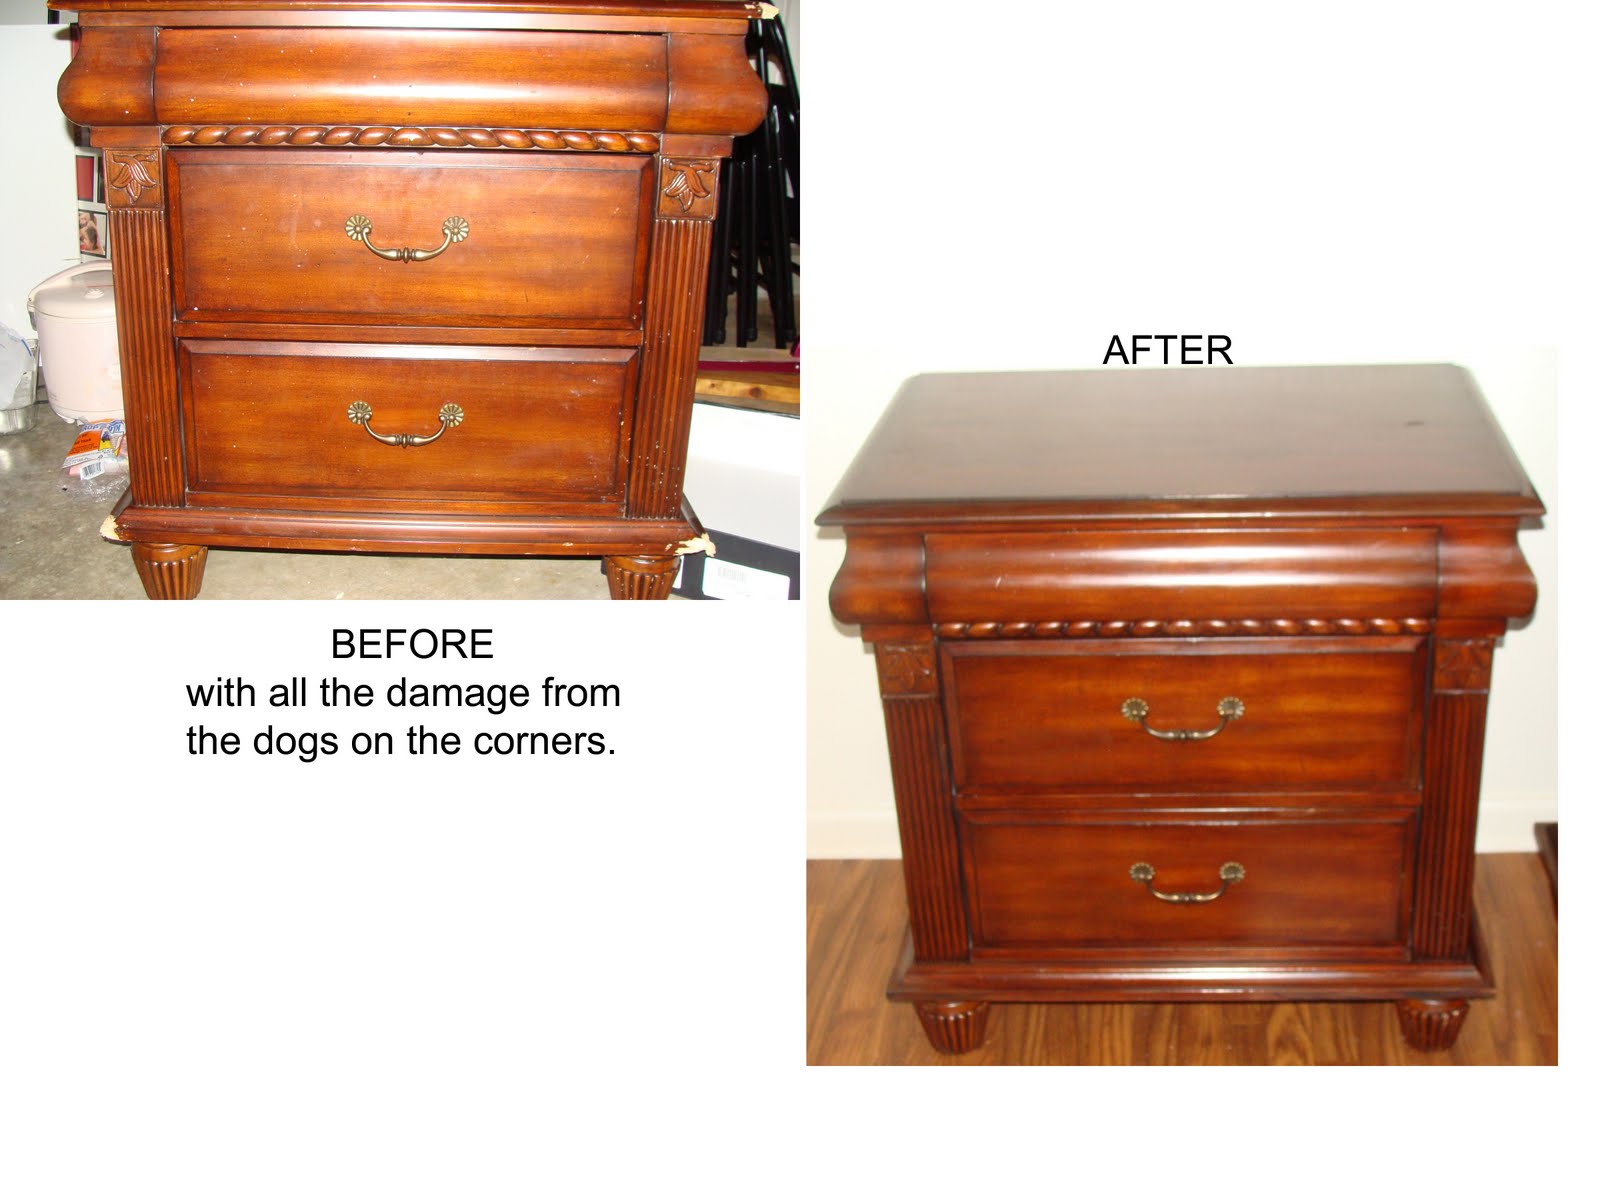 And here is the dresser:
 Here was where the damaged section was:
 Side by side before and after:
I didn't get very good pictures of the two pieces together because of the location and the lighting, but here is the best one.
 Like I said it wasn't a great picture.
I was very pleased with how it all turned out. It was a good learning experience. If I would have had more time I would have figured out a better way to match the protective finish, but I was under a deadline to get it sold to help pay for some plane tickets. I am happy to say that within 24 hours of posting it, I was able to sell it and send it off to it's new home! I know the people who bought it will take good care of it!
I would have loved to keep it, but with our family being in the Army and the fact that we move very frequently, it just would not have worked. Besides we didn't really have the room for it, it's not like we have a guest bedroom. **sigh** I wish!


